So, can you wash a mattress topper? The honest answer is it really depends on what it is made of. Some materials, like cotton or certain synthetic fibres, can pop in the washing machine on a gentle cycle. Others, especially memory foam, would be completely ruined by it.
Your first port of call, always, should be the care label. It is your golden ticket to getting it right.
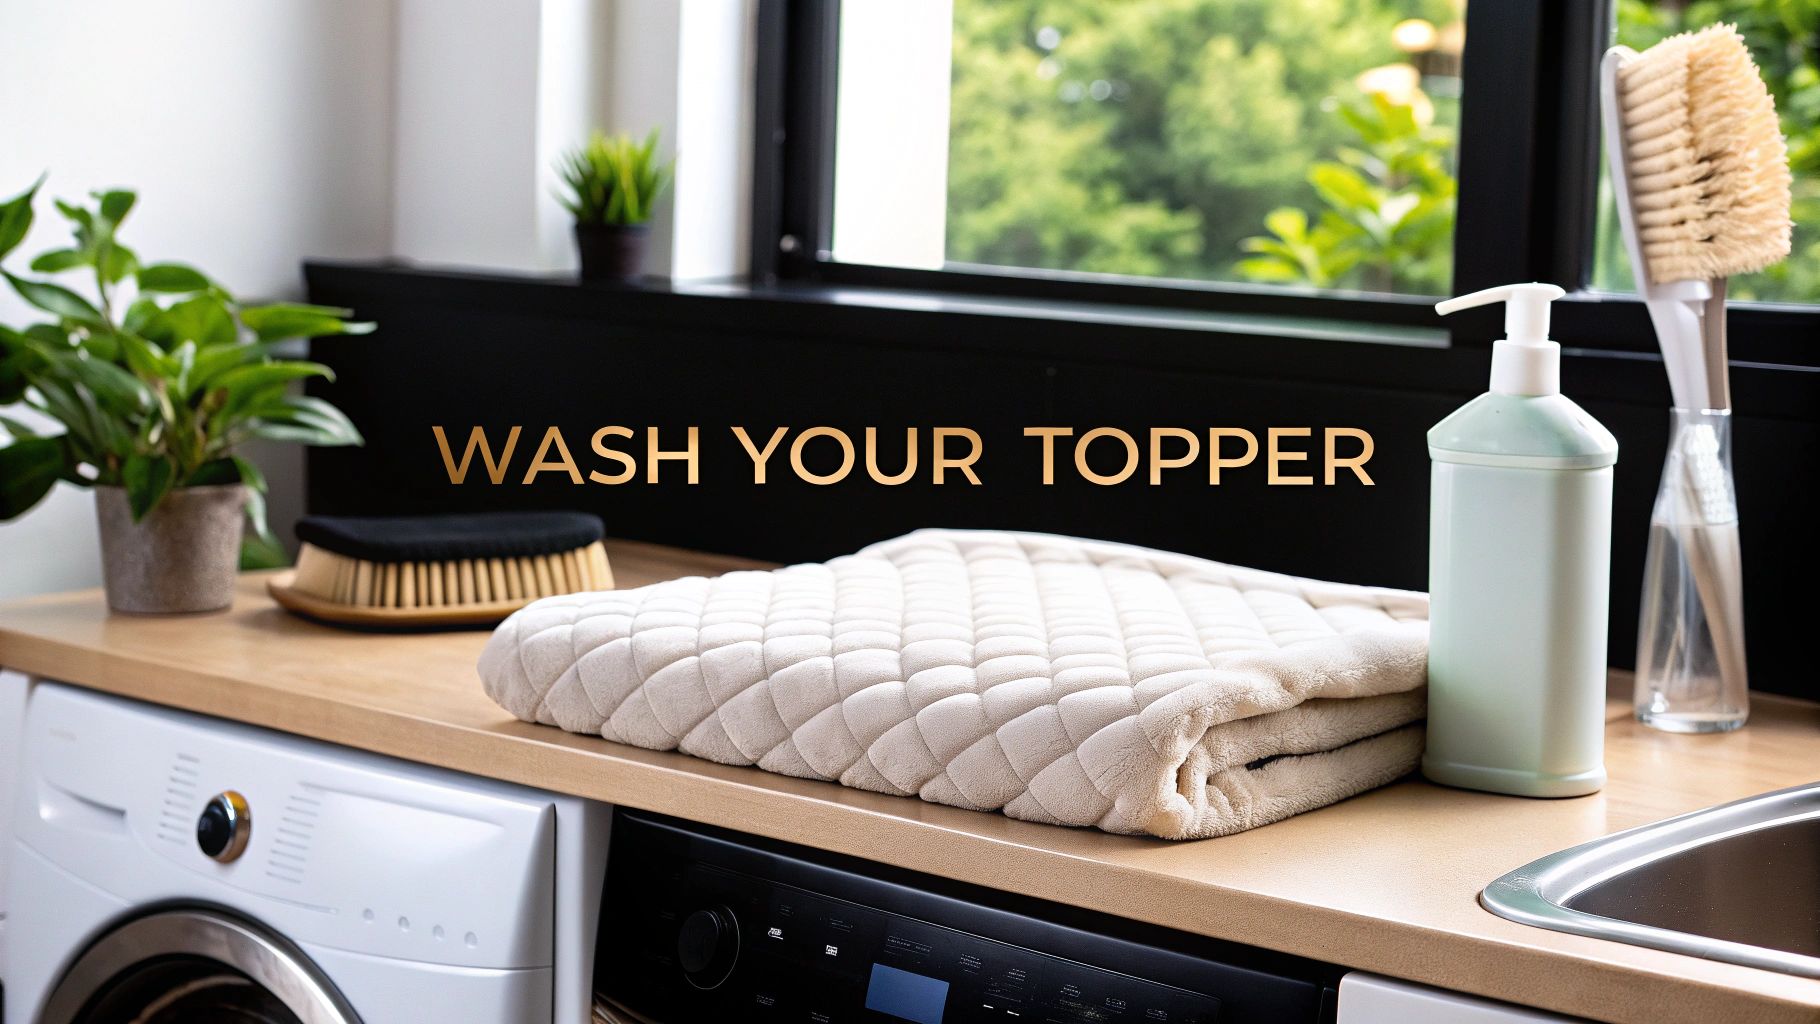
Your Guide to Washing a Mattress Topper
Keeping your bed fresh and hygienic is one of life’s simple pleasures, but figuring out how to clean your mattress topper can feel like a bit of a puzzle. Get it right, and you prolong its life and keep your bed feeling comfortable. Get it wrong, and you could be left with a lumpy, misshapen mess.
It is a surprisingly common dilemma. In fact, a staggering 68% of UK households deal with topper stains or hygiene issues each year. This makes knowing the correct cleaning method absolutely essential, especially when you consider that only about 20% of toppers sold in the UK are fully machine washable. These insights from the Sleep Council UK really highlight how important it is to know your material.
This simple decision tree can help you quickly figure out the best approach for your specific topper.
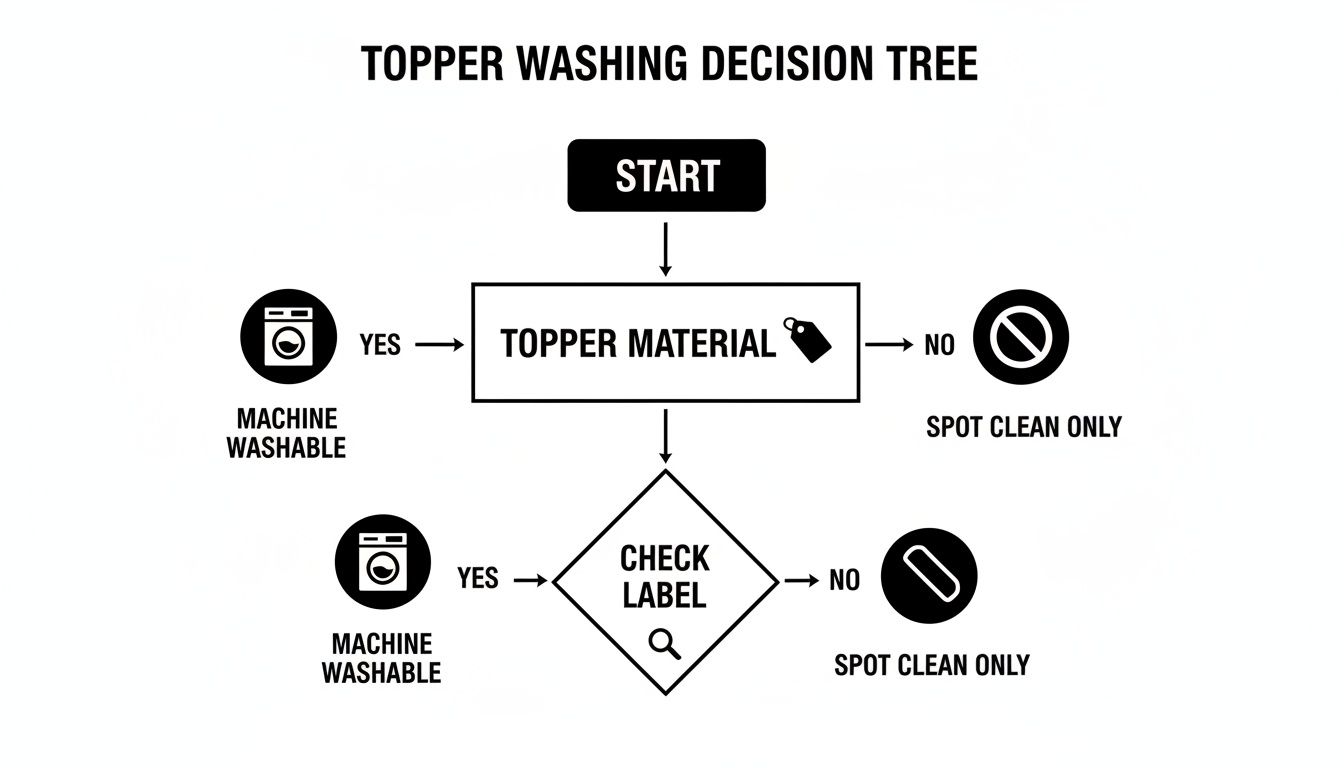
The key takeaway is clear: your topper’s material dictates the cleaning method, and the care label is your ultimate guide.
Mattress Topper Washing Guide by Material
To make things a little easier, here is a quick reference table. Use it to see at a glance whether your topper can be machine washed, hand washed, or needs a more delicate touch with spot cleaning.
| Topper Material | Machine Washable? | Hand Washable? | Best Cleaning Method |
|---|---|---|---|
| Cotton | Yes (often) | Yes | Gentle machine wash or hand wash |
| Feather/Down | Yes (carefully) | Yes | Professional cleaning or large capacity machine |
| Wool | No | Yes (carefully) | Hand wash or spot clean; avoid agitation |
| Latex | No | No | Spot clean only |
| Memory Foam | No | No | Spot clean only |
| Polyester/Fibre | Yes (usually) | Yes | Gentle machine wash or hand wash |
Remember to always double check the manufacturer’s instructions, as blends and specific treatments can change the rules. This table is a great starting point, but the tag on your topper is the final word.
Why Correct Cleaning Matters
Properly cleaning your mattress topper is about so much more than just dealing with a spilt cup of tea. It is about maintaining a healthier sleeping environment and protecting the investment you made in your comfort. Over time, toppers can accumulate all sorts of unwanted guests.
- Dust Mites and Allergens: If you suffer from allergies or asthma, regular cleaning is your best defence against triggers that build up in your bedding.
- Body Oils and Sweat: We all sweat during the night, and these oils can lead to yellowing discolouration and unpleasant odours if left to fester.
- Bacteria and Germs: A clean surface is simply better for your overall hygiene and peace of mind.
By following the right care routine, you ensure your topper remains supportive, comfortable, and fresh for years to come. The process is quite different from cleaning other bedding, which is why we created a separate guide explaining how to wash a mattress protector.
A Practical Guide to Cleaning Different Topper Types
Alright, now you know which cleaning method suits your topper best, let's get down to the practical details. This is your hands on guide to getting your topper fresh and clean, whether you are dealing with a small spill or just doing a seasonal refresh. We will cover everything from quick spot treatments to a proper wash.
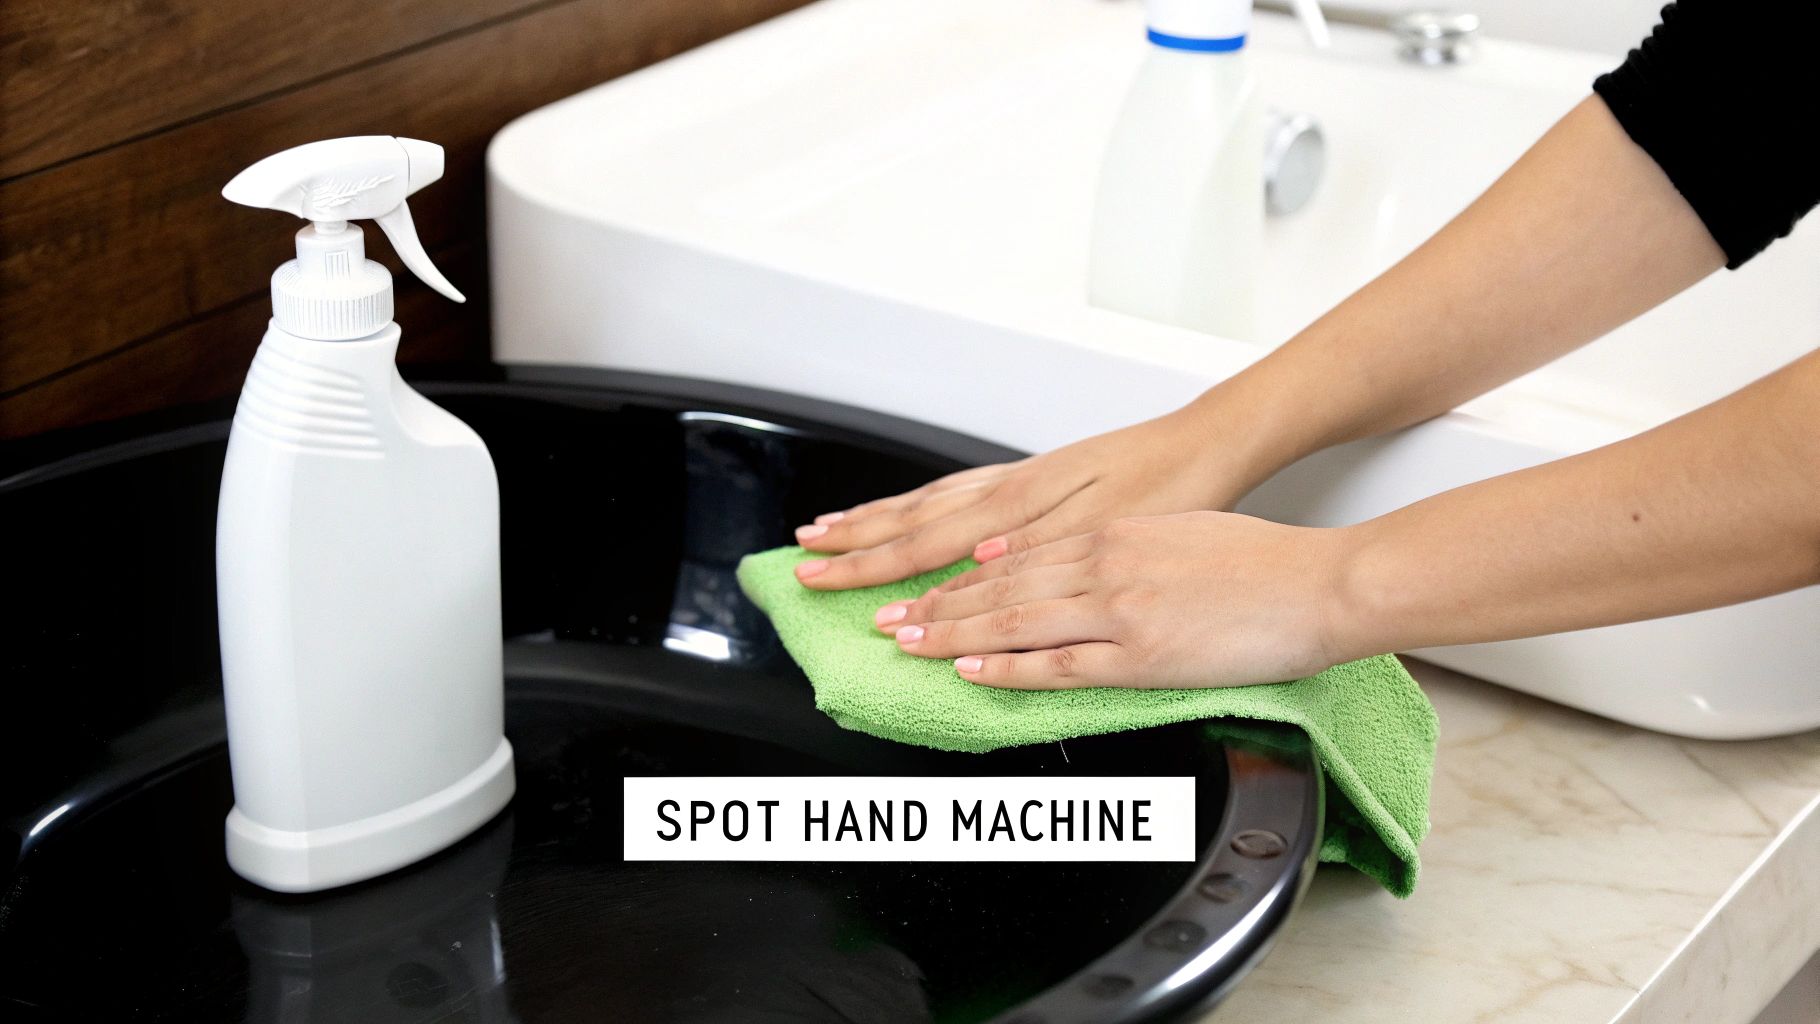
Spot Cleaning for Foam and Delicate Toppers
Spot cleaning is your first line of defence, especially for materials that cannot be soaked, like memory foam, latex, and wool. It is the perfect technique for tackling those little accidents, like a morning coffee mishap, before they have a chance to set in.
The trick is to act fast. Grab a clean, dry cloth and gently blot the spill to soak up as much liquid as you can. Whatever you do, do not rub! That just pushes the stain deeper into the topper's fibres.
Next, mix up a simple cleaning solution. For most stains, a bit of mild detergent mixed with cool water will do the job beautifully. If you are up against tougher organic stains, a solution of one part white vinegar to two parts water can work wonders.
Dab the solution onto the stain sparingly with a clean cloth. Let it sit for about 30 minutes, then take a fresh cloth dampened with only water and blot the area again. This rinses out the cleaning solution and any remaining residue.
Remember, the goal is to use as little moisture as possible. Foam toppers are like giant sponges, and getting them too wet can lead to mould or permanently damage their delicate structure. Always let the area air dry completely before making the bed.
The Gentle Art of Hand Washing
For some toppers, like those made from delicate wool or certain synthetic blends, a full hand wash might be the only way to get a deep clean. It takes a bit more effort, but it is the surest way to avoid damaging the material in a harsh washing machine.
You will need a bathtub or a large basin for this. Fill it with cool water and add a small amount of a gentle, wool safe detergent. Submerge the topper and carefully squeeze the water through it. Be gentle, avoid twisting or wringing the material, as this can easily cause it to stretch or lose its shape.
Once it is clean, drain the soapy water and refill the tub with fresh, cool water to rinse. You might need to repeat this a couple of times to get all the suds out. Finally, gently press out the excess water before laying it flat to dry.
Machine Washing for Hardy Toppers
A few tough toppers, usually those filled with cotton or polyester, can actually handle a spin in the washing machine. This is by far the easiest method, but only attempt it if the care label gives you the green light.
Before you pop it in, give your topper a quick once over. Check for any small tears or loose threads and mend them first. The last thing you want is for a small problem to become a big one during the wash cycle.
Here are a few tips for a successful machine wash:
- Use a Large Capacity Machine: Your topper needs plenty of room to move. A commercial sized machine at a launderette is often your best bet to avoid cramming it in.
- Choose a Gentle Cycle: Always select the delicate or wool setting. Stick with cool water to prevent any unfortunate shrinkage.
- Use a Mild Detergent: A small amount of a gentle, non bio detergent is all that’s required. Harsh chemicals can easily damage the filling and fabric.
Knowing how to care for all your bedding is key. Our guide on how to clean a mattress pad has more tailored advice for other items in your sleep sanctuary.
Memory foam, for instance, needs special attention. It dominates 55% of the £250 million UK topper market, yet its structure is incredibly delicate. In fact, water saturation can cause structural collapse in an estimated 85% of cases, which is why it should never, ever go in a washing machine. For more expert insights, check out this advice on caring for your mattress topper at Putnams.co.uk.
How to Tackle Stubborn Stains and Odours
Sometimes, a standard wash just will not cut it. Life happens, and a spilt cup of morning tea or a little accident from a pet can leave behind stubborn marks and smells that need a bit more muscle.
This is particularly true for older toppers, which can sometimes take on a yellowish tint. This is usually just a sign of natural oxidation mixed with body oils over time. It might look a bit grim, but it is often something you can fix at home to get your topper looking and feeling much fresher.
Banish Unwanted Smells
A musty smell can make even the most pristine bed feel off, a common problem here in the UK with our damp climate. Fortunately, the best deodoriser I know of is probably already sitting in your kitchen cupboard.
Baking soda is a fantastic, natural way to absorb moisture and neutralise odours. Just sprinkle a generous, even layer over the entire surface of your dry topper. You will want to let it sit for at least a few hours, but leaving it overnight is even better if you have the time. Once it has worked its magic, grab your vacuum and use the upholstery attachment to get rid of all the powder.
If you are dealing with really persistent smells that home remedies cannot shift, it might be worth looking into professional odor removal services for a more powerful solution.
Simple Fixes for Common Stains
When it comes to stains, a targeted approach is always best. You can whip up some really effective, gentle stain removers with a few household staples, which is far better for your topper's fabric than harsh chemical products.
-
General Spills & Light Stains: Mix one part mild laundry detergent with two parts cool water. Take a clean cloth, dip it in the solution, and gently dab the stain. Always work from the outside in to stop it from spreading.
-
Biological Stains (like sweat or pet urine): A solution of equal parts white vinegar and cool water in a spray bottle works wonders. Lightly mist the area, let it sit for about 15 minutes, and then blot it firmly with a dry, clean cloth until the moisture is gone.
-
To Lighten Yellowing: Try making a paste from baking soda and a little water. Apply this to the yellowed spots, let it dry completely, and then you can scrape or vacuum off the residue.
Always remember to blot, never scrub. Rubbing a stain can force it deeper into the material and even damage the structure of your topper. A little patience goes a long way.
After treating any stain, it is absolutely vital to let the area air dry completely before you even think about putting sheets back on. A damp spot is an open invitation for mould and mildew, which will undo all your hard work. These same principles apply to other parts of your bed, and you can find more tips in our guide on how to clean a mattress cover.
The Best Way to Dry and Store Your Topper
Getting your mattress topper clean is only half the battle, how you dry it is just as crucial. The wrong drying method can undo all your hard work, leaving you with damp smells, mould, or even permanent damage. Drying it properly keeps it fresh, supportive, and ready for a good night's sleep.
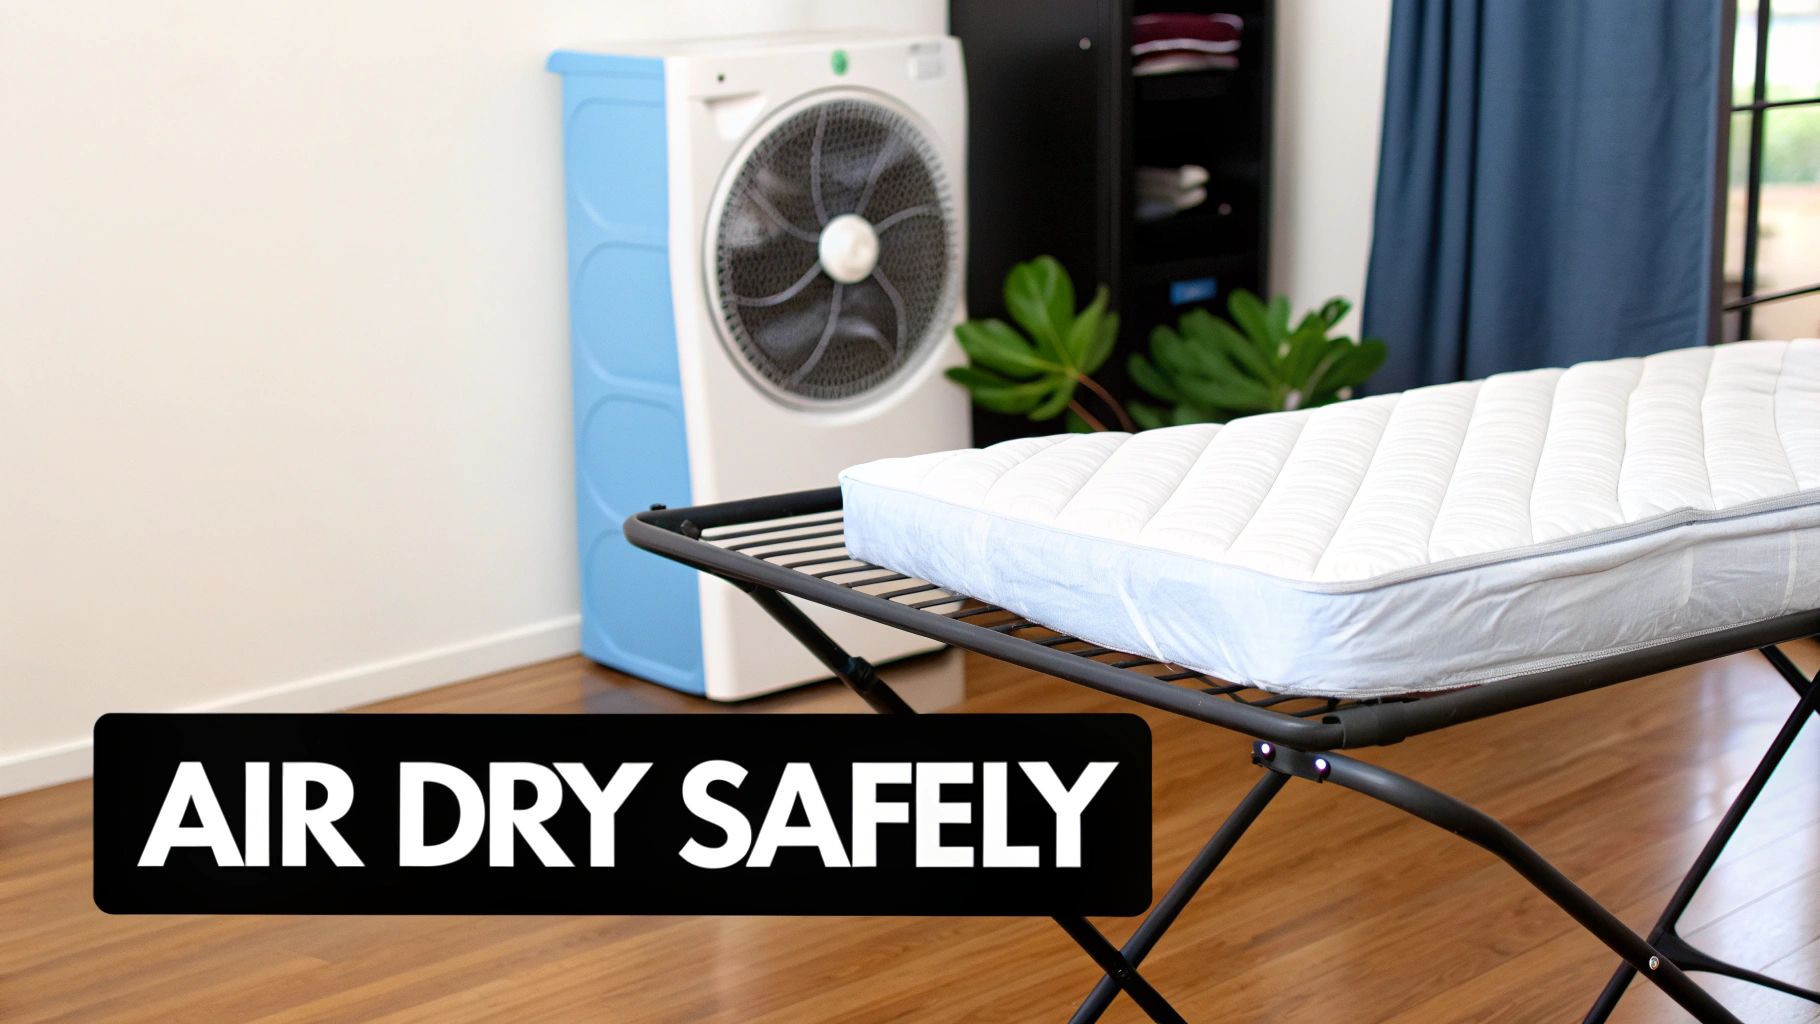
The golden rule, particularly for memory foam and latex, is to avoid high heat at all costs. This means the tumble dryer is almost always a no go. Intense heat breaks down the delicate foam structure, causing it to become brittle and lose its shape. Instead, patience and air are your best tools for the job.
Air Drying Your Topper Correctly
Without a doubt, the safest method is to let your topper air dry completely. Lay it flat on a clean surface, like on top of some towels on the floor, or drape it over a large clothes airer. The key is to make sure it is spread out evenly to avoid creases and allow it to dry uniformly.
Here in the UK, our damp climate can really slow things down. If you need to give the process a nudge, here are a few things that work wonders.
- Boost the Airflow: Open the windows to get a good cross breeze moving through the room.
- Bring in a Fan: Point a fan directly at the topper. This keeps the air circulating, which significantly helps moisture evaporate.
- Use a Dehumidifier: If you own one, placing it in the same room is a brilliant way to pull moisture right out of the air and the topper itself.
It is a booming market; UK mattress topper sales have surged 35% to £320 million since 2019. Yet, an estimated 62% of buyers handle cleaning incorrectly, often voiding their warranties. In our rainy climate, where 70% of households struggle with high humidity, air drying can take anywhere from 24 to 48 hours. Using a fan can cut this time by up to 50%.
Storing Your Topper for Freshness
If you are putting your topper away for a season or moving house, correct storage will keep it in great shape. The most important first step is to ensure it is 100% dry before you pack it away. Any lingering dampness is a recipe for mould and mildew.
When getting it ready, it helps to think about how you would properly store furniture to prevent common issues like dampness and warping. The same principles apply. Always roll the topper gently rather than folding it. Sharp folds can create permanent creases, especially in foam materials. For more detailed advice, our guide on using bedding bag storage offers excellent tips to keep everything protected.
Simple Habits to Keep Your Topper Fresh
A full on deep clean is not something you need to schedule every week. The real secret to a fresh, hygienic bed lies in small, consistent habits that stop dirt and grime from building up in the first place. These simple tips are perfect for busy households, helping you maintain a wonderfully clean bed with minimal effort.
Think of it as preventative care. By weaving these habits into your routine, you’ll not only extend the life of your topper but also make those occasional deep cleans far less of a chore.
Your Best Defence: A Mattress Protector
If you do one thing for your topper, make it this: cover it with a high quality, waterproof mattress protector. This simple layer acts as a shield, guarding your topper against the daily realities of life, think spills, sweat, dust mites, and allergens.
A protector is infinitely easier to clean than a bulky topper. Most can be tossed straight into the washing machine with your regular bedding. This one addition means you will rarely have to worry about spot cleaning your actual topper, saving you a massive amount of time and effort down the line.
A good mattress protector is like an insurance policy for your comfort. It takes on all the wear and tear, so your topper can focus on what it does best: giving you a comfortable night's sleep.
The Power of Airing and Vacuuming
A few simple actions, done daily and weekly, can make a world of difference in keeping your topper fresh and allergen free. These two habits are incredibly effective for how little effort they take.
-
Air It Out Daily: When you get up in the morning, make a point of pulling back your duvet and blankets for at least 30 minutes. This allows any moisture that has accumulated overnight to evaporate, which is your best weapon against musty smells and mildew. It’s an easy win.
-
Vacuum It Weekly: Each time you change your sheets, grab your vacuum's upholstery attachment and give the surface of the topper a quick once over. This whisks away dust, dead skin cells, and other allergens before they can work their way deep into the fibres. A typical used mattress can harbour millions of dust mites, so this is a crucial step for a healthier sleep environment.
Tacking these tasks onto your weekly bedding change is a fantastic habit to build. For more ideas on creating a simple and effective laundry routine, check out our guide on how to wash bed sheets. By combining these small efforts, you create a cleaner, more inviting place to rest your head each night.
An Easy Mattress Topper Care Routine
Let's be honest, adding another chore to the list is the last thing anyone wants. The good news is that looking after your mattress topper does not have to be a big production. It’s all about building a few simple habits into your routine.
Think of it this way: just like you make a cup of tea in the morning, pulling back the duvet for a bit while you do so can become second nature. These small, consistent actions are what keep your topper feeling fresh and supportive night after night.
Simple Topper Maintenance Schedule
To help you get into the swing of things, I have put together a simple schedule. This is not about rigid rules; it is a practical guide to weave into your regular household cleaning. Consider this your roadmap to a consistently clean and comfortable bed.
| Frequency | Task | Benefit |
|---|---|---|
| Daily | Air the bed for 30 minutes. | Allows overnight moisture to evaporate, preventing musty smells and keeping it fresh. |
| Weekly | Vacuum the topper's surface. | Quickly removes dust, allergens, and dead skin cells before they have a chance to settle. |
| Monthly | Rotate the topper 180 degrees. | Distributes wear and tear evenly, preventing dips and prolonging its lifespan. |
| Every 2-3 Months | Spot clean any minor stains. | Tackles small spills immediately, stopping them from becoming permanent marks. |
| Every 6 Months | Deep clean your topper. | Follow the specific hand washing, machine washing, or deodorising method suited to your topper’s material for a total reset. |
Sticking to a simple routine like this is not just about cleaning. You are actively investing in the longevity and comfort of your topper, ensuring it serves you well for years. It’s a small effort that pays huge dividends in sleep quality.
Got Questions About Topper Care? We've Got Answers
We hear a lot of the same questions when it comes to keeping a mattress topper fresh and clean. Let's tackle some of the most common ones so you can care for yours like a pro.
Can I Steam Clean a Mattress Topper?
I would strongly advise against it. Steam cleaners blast high heat and moisture deep into fabrics, which is a recipe for disaster for materials like memory foam and latex. It can literally cause the foam's structure to break down and warp.
Even for more robust toppers, you are forcing a huge amount of water inside. If it doesn’t dry completely, and I mean bone dry, all the way to the core, you’re creating a perfect environment for mould and mildew. It’s just not worth the risk. Stick to the gentler spot cleaning methods we have discussed.
How Do I Get Rid of That “New Topper” Smell?
Ah, that familiar chemical scent from a new memory foam topper. It is a process called "off gassing," and it is completely normal. The best and simplest solution is fresh air.
Unpack your new topper and let it breathe in a well ventilated room for at least 24 to 48 hours before putting it on your bed. If the smell hangs around, try this trick: sprinkle a light, even layer of baking soda over the entire surface, leave it for a few hours, and then vacuum it all up thoroughly. The baking soda is great at absorbing those lingering odours.
Help! My Topper Went Lumpy After Washing.
Do not panic! This is a common issue with fibre filled toppers, and it is usually fixable. Lumps typically form when the filling clumps together during the wash or dry cycle.
First, make sure the topper is 100% dry, any dampness will just make it clump again. Lay it out flat on your bed or the floor. Now, get hands on. Gently work through the lumpy areas with your fingers, teasing and pulling the clumps of filling apart. After that, give it a good, vigorous shake from all sides, just like you would fluff up a giant pillow. This helps redistribute everything back to where it should be.
For a sleep that feels as good as it looks, explore the cosy collection at Morgan and Reid. Discover our range of comforters and bedding essentials designed for modern comfort. https://www.morganandreid.com
Share:
How to Clean Your Mattress Pad in 3 Simple Steps
What Is Cotton Percale? A Guide to Crisp and Cool Bedding